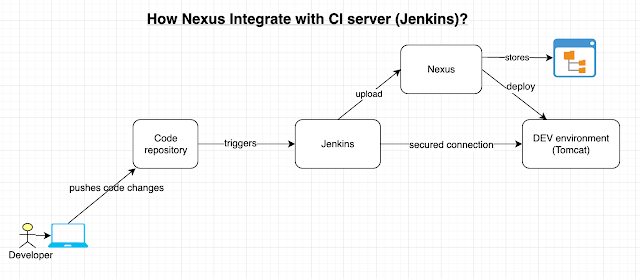
Jenkins Nexus Integration - How to integrate Sonatype Nexus with Jenkins - Upload artifacts from Jenkins to Nexus repository
You need to install Nexus Artifact Uploader plug-in to integrate Nexus with Jenkins. Let us see how to integrate Jenkins with Nexus and able to upload War/Ear/Jar/Exe/DLLs.

Pre-requistes:
Install Nexus Artifact Uploader plugin in Jenkins.
Steps:
1. Once you installed the above plug-ins, click existing FreeStyle job configuration or create a new job.
2. Under source code management. enter bitbucket repo url and git credentials.
3. Go to build section, add Maven targets. with goals clean install. Also click advance, give path of POM.xml
4. click on Add build step, choose Nexus artifact uploader.
5. Enter information per below screen shot.
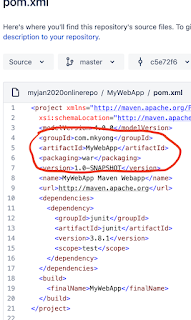
Make sure you enter version as 1.0-SNAPSHOT and repository as maven-snapshots. You can take the information from your WebApp/pom.xml from Bitbucket Repo
6. Click on Apply, Save.
7. Now login to Nexus repo, Click on Browse, Click on maven-snapshots
8. you shall see the WAR being uploaded here.
Note:
Click here for Jenkins pipeline code for Nexus Upload.


No comments:
Post a Comment